Reproduced from coopercottages.com
Pre-Battle

In the year 1297, Scotland found itself under the rule of English King Edward I after a provoked invasion in 1296. While the Scottish King John Balliol remained stripped of his kingship, a rebellion sparked by Sir William Wallace and Sir William Moray begins to gain momentum. In response, the English mustered an army under John de Warenne, Earl of Surrey. The main bulk of the English forces were stationed in France with Edward I. However, the Earl of Surrey’s host was not to be underestimated.
The English army was to march North to aid English garrisons that were threatened by the rebellion. Though it would be at the small, narrow river crossing in the city of Stirling that the rebellion would come to them.
At this point, Stirling castle was under English occupation, and so, it made strategic sense for the English army to travel through Stirling. Aided by the fact that Stirling offered the main crossing into northern Scotland. Though, Stirling bridge, as stated, was narrow and could only allow the English army to cross two abreast. Ultimately this caused a bottleneck, which Wallace intended to exploit.
The English army consisted of around 7000, with around 300 heavy cavalries. In comparison, the Scottish force was around 6000 with only a small unit of cavalry. Outnumbered and outmatched, Wallace awaited Surrey’s advance.
Extract from The New Statistical Accounts of Scotland, 1845: –
As might be expected from its neighbourhood to the important
fortress of Stirling, the parish of Logie is not deficient in the glories
of old days. It was the scene of one of the most splendid
victories of the Scottish patriot, Wallace, the battle of Stirling,
September 13, 1297. It was on the hill called Abbey Craig that
the Scottish army was posted1 the night before the engagement,
and the scene of action itself appears to have been about the place
now called Corntown.
The Battle
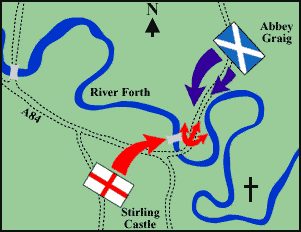
Surrey ordered his heavy cavalry vanguard under the command of Cressingham to advance across the bridge towards Wallace’s northern position. However, crossing two abreast quickly created a build-up of disorganised troops on both ends of the bridge. Once A large portion of the English army had crossed the river, Wallace ordered his men to form schiltron and advance (to see more on schiltrons, please read our post on the battle of Bannockburn: https://coopercottages.com/the-battle-of-bannockburn/). The schiltron was exceptionally effective against cavalry, even more so due to the lack of mobility hindering the English cavalry ability to perform a counter charge. Unable to effectively utilise their numbers, the English army was slowly pushed back across the bridge by the Scottish light infantry. As panic and confusion started to spread throughout the English ranks, a mass rout ensued. Those trapped on the bridge were slaughtered in great numbers, while those who escaped into the river drowned due to their heavy armour. Witnessing his imminent defeat, Surrey ordered the bridge to be destroyed, leaving many of his men trapped at the mercy of the Scots.
The battle of Stirling Bridge marked a great victory for the Scottish rebellion and saw the vast majority of Scotland land under Wallace’s protection. Though they would soon find this victory short-lived.
Source: ‘Battlefields of Britain’
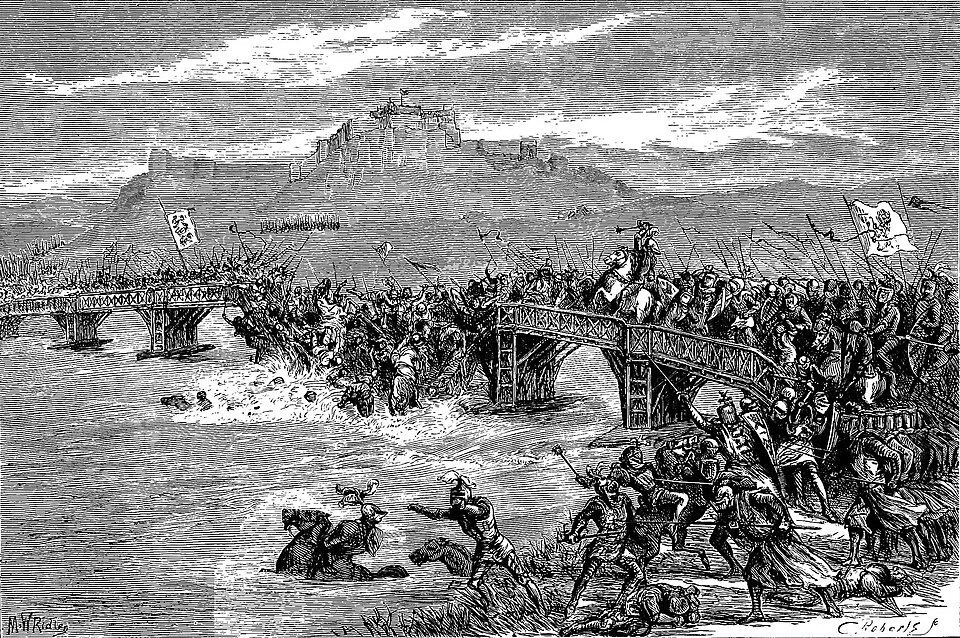
A Victorian depiction of the battle. The bridge collapse suggests that the artist has been influenced by Blind Harry’s account.
There are a few depictions of the scene that have been created over the piece. Most bear little scrutiny in terms of accuracy but give an entirely biased view of the happenings of the day.
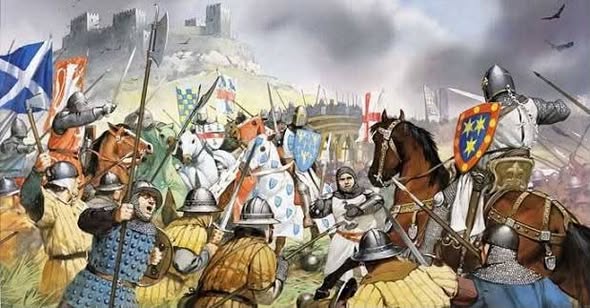
1 While this belief has been widely held by reference to the contemporary descriptions of the battle, Doctor Murray Cook, Stirling City Archaeologist believes that Wallace’s Army was posted further to the West on the high ground of Airthrey. There, the topography lends itself much more suitably to the accommodation of the 6,000 men and, in addition, provides a much more strategic position from which to engage the English Army in the loop of the river.